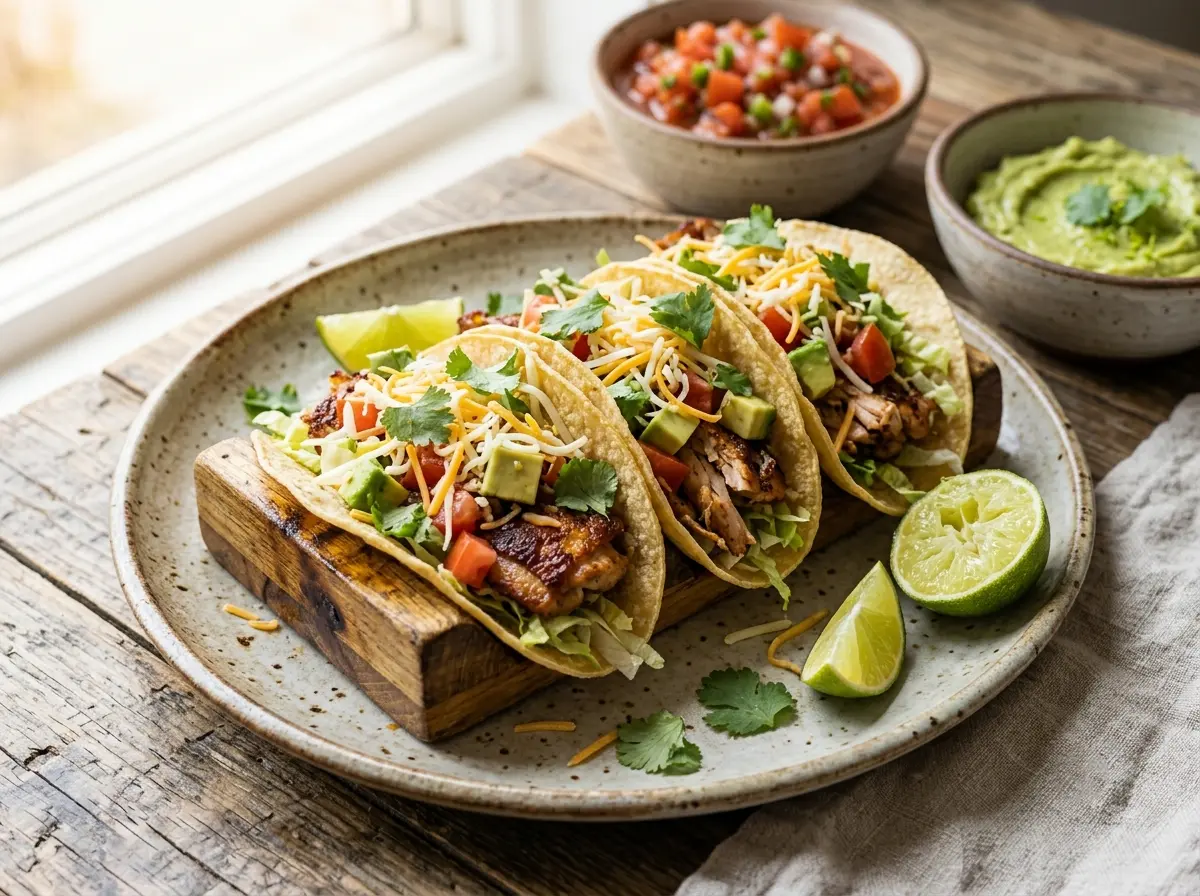
Step 1: Prepare the Chicken
Remove the chicken thighs from the refrigerator about 15–20 minutes before cooking. Allowing the meat to come closer to room temperature helps it cook more evenly.
Pat each piece dry with paper towels. Removing excess moisture allows the seasoning to stick better and helps the chicken develop a golden-brown crust instead of steaming in the pan.
If the chicken thighs are especially thick, trim any large pieces of excess fat. A little fat is beneficial because it keeps the meat juicy, but removing oversized pieces creates a better texture.
Step 2: Make the Seasoning
In a small bowl combine:
2 teaspoons chili powder
1 teaspoon smoked paprika
1 teaspoon cumin
1 teaspoon garlic powder
1 teaspoon oregano
½ teaspoon onion powder
½ teaspoon salt
½ teaspoon black pepper
Mix thoroughly until everything is evenly combined.
This homemade seasoning blend provides smoky, slightly spicy flavor without overpowering the chicken.
If you enjoy more heat, add:
¼ teaspoon cayenne pepper or ½ teaspoon chipotle powder
Step 3: Season the Chicken
Drizzle the olive oil over the chicken.
Sprinkle the seasoning mixture evenly over every piece.
Massage the spices into both sides of the meat until fully coated.
Finally squeeze the juice of one fresh lime over the chicken.
Let everything rest for 10–15 minutes.
This short resting time allows the spices to penetrate the meat and creates much deeper flavor after cooking.
Step 4: Heat the Pan Properly
Place a large skillet over medium-high heat.
Allow it to heat for 2–3 minutes before adding the chicken.
A properly heated pan creates caramelization on the outside while keeping the inside juicy.
If you’re using cast iron, allow a little extra time for the pan to fully heat.
Avoid overcrowding the skillet.
If necessary, cook the chicken in two batches.
Crowding traps steam and prevents proper browning.
Seasoned chicken thighs cooking in a cast iron skillet
Step 5: Cook Until Perfectly Juicy
Place the chicken into the hot skillet.
Cook undisturbed for approximately 5–6 minutes.
Resist the temptation to move it around.
Leaving it alone allows a beautiful golden crust to develop.
Flip the chicken once.
Cook another 5–6 minutes.
The exact cooking time depends on thickness.
The safest way to check doneness is with a meat thermometer.
Chicken is safe to eat once it reaches an internal temperature of 165°F (74°C), as recommended by the USDA.
Once cooked, transfer the chicken to a clean plate.
Step 6: Rest Before Slicing
Don’t cut the chicken immediately.
Allow it to rest for 5 minutes.
Resting gives the juices time to redistribute throughout the meat.
Skipping this step causes those juices to run onto the cutting board instead of staying inside the chicken.
Slice into thin strips or bite-sized cubes depending on your preference.
Finish with another squeeze of fresh lime juice.
Step 7: Warm the Tortillas
Warm tortillas are softer, more flexible, and taste significantly better.
You have several options:
Skillet | Cook each tortilla for about 20–30 seconds per side.
Gas Flame | Briefly char each tortilla for a few seconds.
This creates authentic restaurant flavor.
Microwave | Wrap tortillas in a damp paper towel.
Heat for 30–45 seconds.
Keep warm inside a clean kitchen towel until serving.
Step 8: Assemble the Tacos
Now comes the fun part.
Fill each tortilla with:
Chicken, Lettuce, Tomatoes, Cheese, Avocado, Cilantro
Finish with:
Lime juice, Salsa, Sour cream, Hot sauce
Serve immediately while everything is fresh.